Outdoor / Garden setup walkthrough for non-experts

ByChen Wang · Senior Editor
Published May 31, 2026
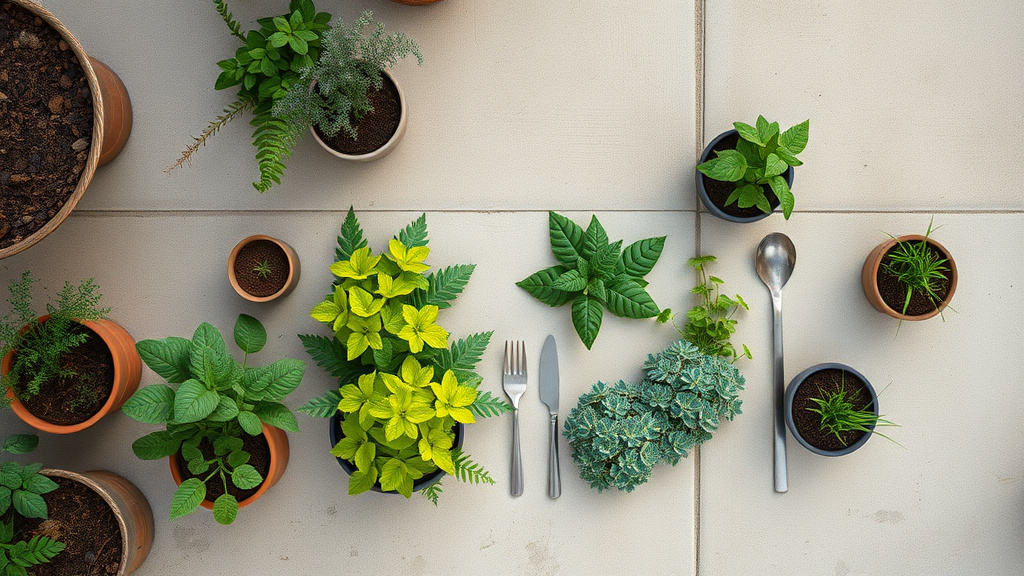
Setting up an outdoor or garden space can seem overwhelming for non-experts, but with a few clear steps and basic tools, anyone can create a functional and enjoyable area. This walkthrough covers practical advice on planning, selecting materials, and assembling your garden setup without unnecessary jargon or expensive equipment.
Key takeaways
- Start with a clear plan tailored to your space, needs, and local climate.
- Choose materials and tools that balance durability, cost, and ease of installation.
- Prepare your site carefully to ensure longevity and avoid common pitfalls.
- Step-by-step setup includes soil preparation, planting, and ongoing maintenance.
- Focus on simplicity and functionality rather than perfect aesthetics to build confidence.
Step 1: Assessing Your Space and Needs
Before buying materials or digging, it’s essential to understand your garden’s conditions and what you want to achieve. Begin by measuring your available outdoor area, noting sun exposure, soil type, and drainage patterns. Observe your space at different times of day to understand sunlight and shade cycles—this informs plant selection.
Consider what you want from your garden setup. Are you growing vegetables, flowers, herbs, or a mix? Do you want seating areas or pathways? Will raised beds work better for limited space or poor soil conditions? Identifying your primary goals early prevents wasted effort and budget.
Practical tips:
- Use a simple tape measure or smartphone app for dimensions.
- Sketch a rough layout on paper or a digital tool.
- Take photos to reference the space later.
- Check local hardiness zones to pick appropriate plants.
Step 2: Choosing Garden Structures and Materials
Once you’ve planned, decide on the physical materials and structures that fit your setup. Most beginner-friendly gardens benefit from raised beds, container gardens, or simple ground plots.
Raised beds
Raised beds are elevated planting boxes that promote better drainage, easier weeding, and soil control. They typically use wood, metal, or plastic. Cedar and redwood are naturally rot-resistant woods recommended for long-lasting raised beds. Avoid pressure-treated wood that may leach chemicals.
Containers and pots
For limited space or patios, containers provide flexibility. Choose durable pots with drainage holes and UV-resistant materials like fiberglass or certain plastics. Terracotta pots are porous but can crack in freezing climates.
Ground planting
If you prefer in-ground beds, steel or plastic edging helps keep paths clear and defines growing areas. Mulching suppresses weeds and conserves moisture.
Tools and supplies
Essentials include a spade or garden fork, hand trowel, garden gloves, watering device (hose or watering can), and a rake.
| Material/Structure | Pros | Cons | Typical Cost Range |
|---|---|---|---|
| Cedar Raised Bed | Rot-resistant, aesthetic | Higher initial cost | $30–$100 per 4x4 ft bed |
| Metal Raised Bed | Durable, modern look | Can heat soil in sun | $50–$120 per 4x4 ft bed |
| Plastic Raised Bed | Lightweight, affordable | Less durable | $20–$70 per 4x4 ft bed |
| Terracotta Pots | Breathable, classic look | Fragile in cold | $15–$60 each |
| Fiberglass Pots | Durable, lightweight | More expensive | $20–$80 each |
Step 3: Preparing Your Site
Good site preparation sets the foundation for success. Clear the area of grass, weeds, and debris. For raised beds, position them with space around for access. If your soil is poor, consider filling raised beds with a mix of topsoil, compost, and other organic material.
For ground plots, digging to loosen compacted soil improves root growth. Remove rocks and incorporate organic matter. Testing your soil pH and nutrient levels with a home test kit helps tailor amendments.
If drainage is a concern—such as water pooling after rain—build slight slopes or install simple drainage pipes to prevent root rot.
Checklist for site prep:
- Remove turf and weeds using shovel or sod cutter.
- Loosen soil at least 6–12 inches deep.
- Amend soil with compost or manure.
- Test soil pH and nutrients as needed.
- Level or slope area for water runoff.
- Place raised beds or containers in chosen spots.
Step 4: Plant Selection and Initial Planting
Choosing plants compatible with your location and your gardening experience is critical. Beginners should select hearty, low-maintenance varieties such as cherry tomatoes, lettuce, marigolds, or herbs like basil and mint.
Purchase quality seedlings or seeds from a reputable nursery. Follow planting guides for spacing and depth. For raised beds, arrange plants to allow air circulation and adequate sunlight.
Water newly planted areas thoroughly but avoid overwatering. Mulch with straw or shredded bark to retain moisture and limit weeds.
Step 5: Establishing a Maintenance Routine
Maintaining your outdoor garden doesn’t have to be daunting. Set a regular schedule for watering, weeding, and inspecting plants. Early morning is often best for watering to minimize evaporation and fungal issues.
Regularly harvest vegetables and herbs to encourage continued production. Prune flowers and remove dead leaves or stems promptly to promote plant health.
Keep tools clean and store them properly after use to prolong lifespan. Consider using organic fertilizers or pest controls if needed, but avoid harsh chemicals.
Maintenance tips:
- Water deeply and less frequently rather than shallow daily watering.
- Check plants for pests or disease weekly.
- Rotate crops yearly in raised beds to avoid soil depletion.
- Add compost annually to replenish nutrients.
Comparison Table: Raised Beds vs. Ground Beds for Beginners
| Feature | Raised Beds | Ground Beds |
|---|---|---|
| Ease of Setup | Quick, pre-fabricated kits available | Requires more soil prep |
| Soil Control | High (custom mix) | Medium (depends on existing soil) |
| Drainage | Excellent | May need improving with amendments |
| Accessibility | Easier (higher height reduces bending) | May require kneeling or bending |
| Initial Cost | Higher | Lower |
| Longevity | 5+ years (wood/plastic) | N/A |
| Pest/Weed Control | Easier (better boundary) | Harder, more exposure |
FAQ
How much sunlight does my garden setup need?
Most vegetables and flowers require 6 to 8 hours of direct sunlight daily. Some plants tolerate partial shade; always check the specific needs of your chosen varieties.
Can I use any soil in raised beds?
You should avoid using raw, untreated soil directly from your yard in raised beds. Instead, use a balanced mix of topsoil, compost, and organic matter to provide nutrients and good drainage.
What tools are essential for first-time gardeners?
Basic tools include a spade or shovel, garden fork or trowel, gloves, watering can or hose, and pruning shears. Start with simple tools and expand as needed.
How often should I water my garden?
Watering frequency depends on climate and plant type, but generally, garden soil should be moist to about 6 inches deep. Early morning watering is ideal. Avoid overwatering, which can cause root rot.
What is the easiest way to prevent weeds?
Using mulch around plants and along pathways helps suppress weed growth. Raised beds with defined borders also reduce weed invasion from surrounding areas. Regular weeding is still necessary.
Can I start a garden without prior experience?
Absolutely. Starting small with easy-to-grow plants and simple structures builds confidence. Focus on learning through trial, and gradually add complexity as you gain experience.